


Composite Technique used by Florida Keys Hospitality Photographer
/How did I take 3 images like this…


and turn them into this?
Follow along as I use one of the more complex techniques used by commercial photographers, that of composite imagery.
This technique requires use of reflectors and flags.
In photography, a flag refers to a flat, opaque material that is used to block or shape light in a specific direction. Flags can come in different shapes and sizes and can be made of various materials, including foam board, fabric, or metal. As you can see in these images, I’m using a large oval shaped flag made out of black fabric.

In practical terms, a flag is used to control the direction and intensity of light falling onto an area. In architectural photography – or in my case, when I’m shooting hospitality exteriors - flags are commonly used to block off areas where direct sunlight can cause harsh shadows and overexposure in certain areas. In this case, the sun was so high that it was creating a harsh contrast on the otherwise black table. One side of the table is the correct color and exposure, but the other side was completely blown out.
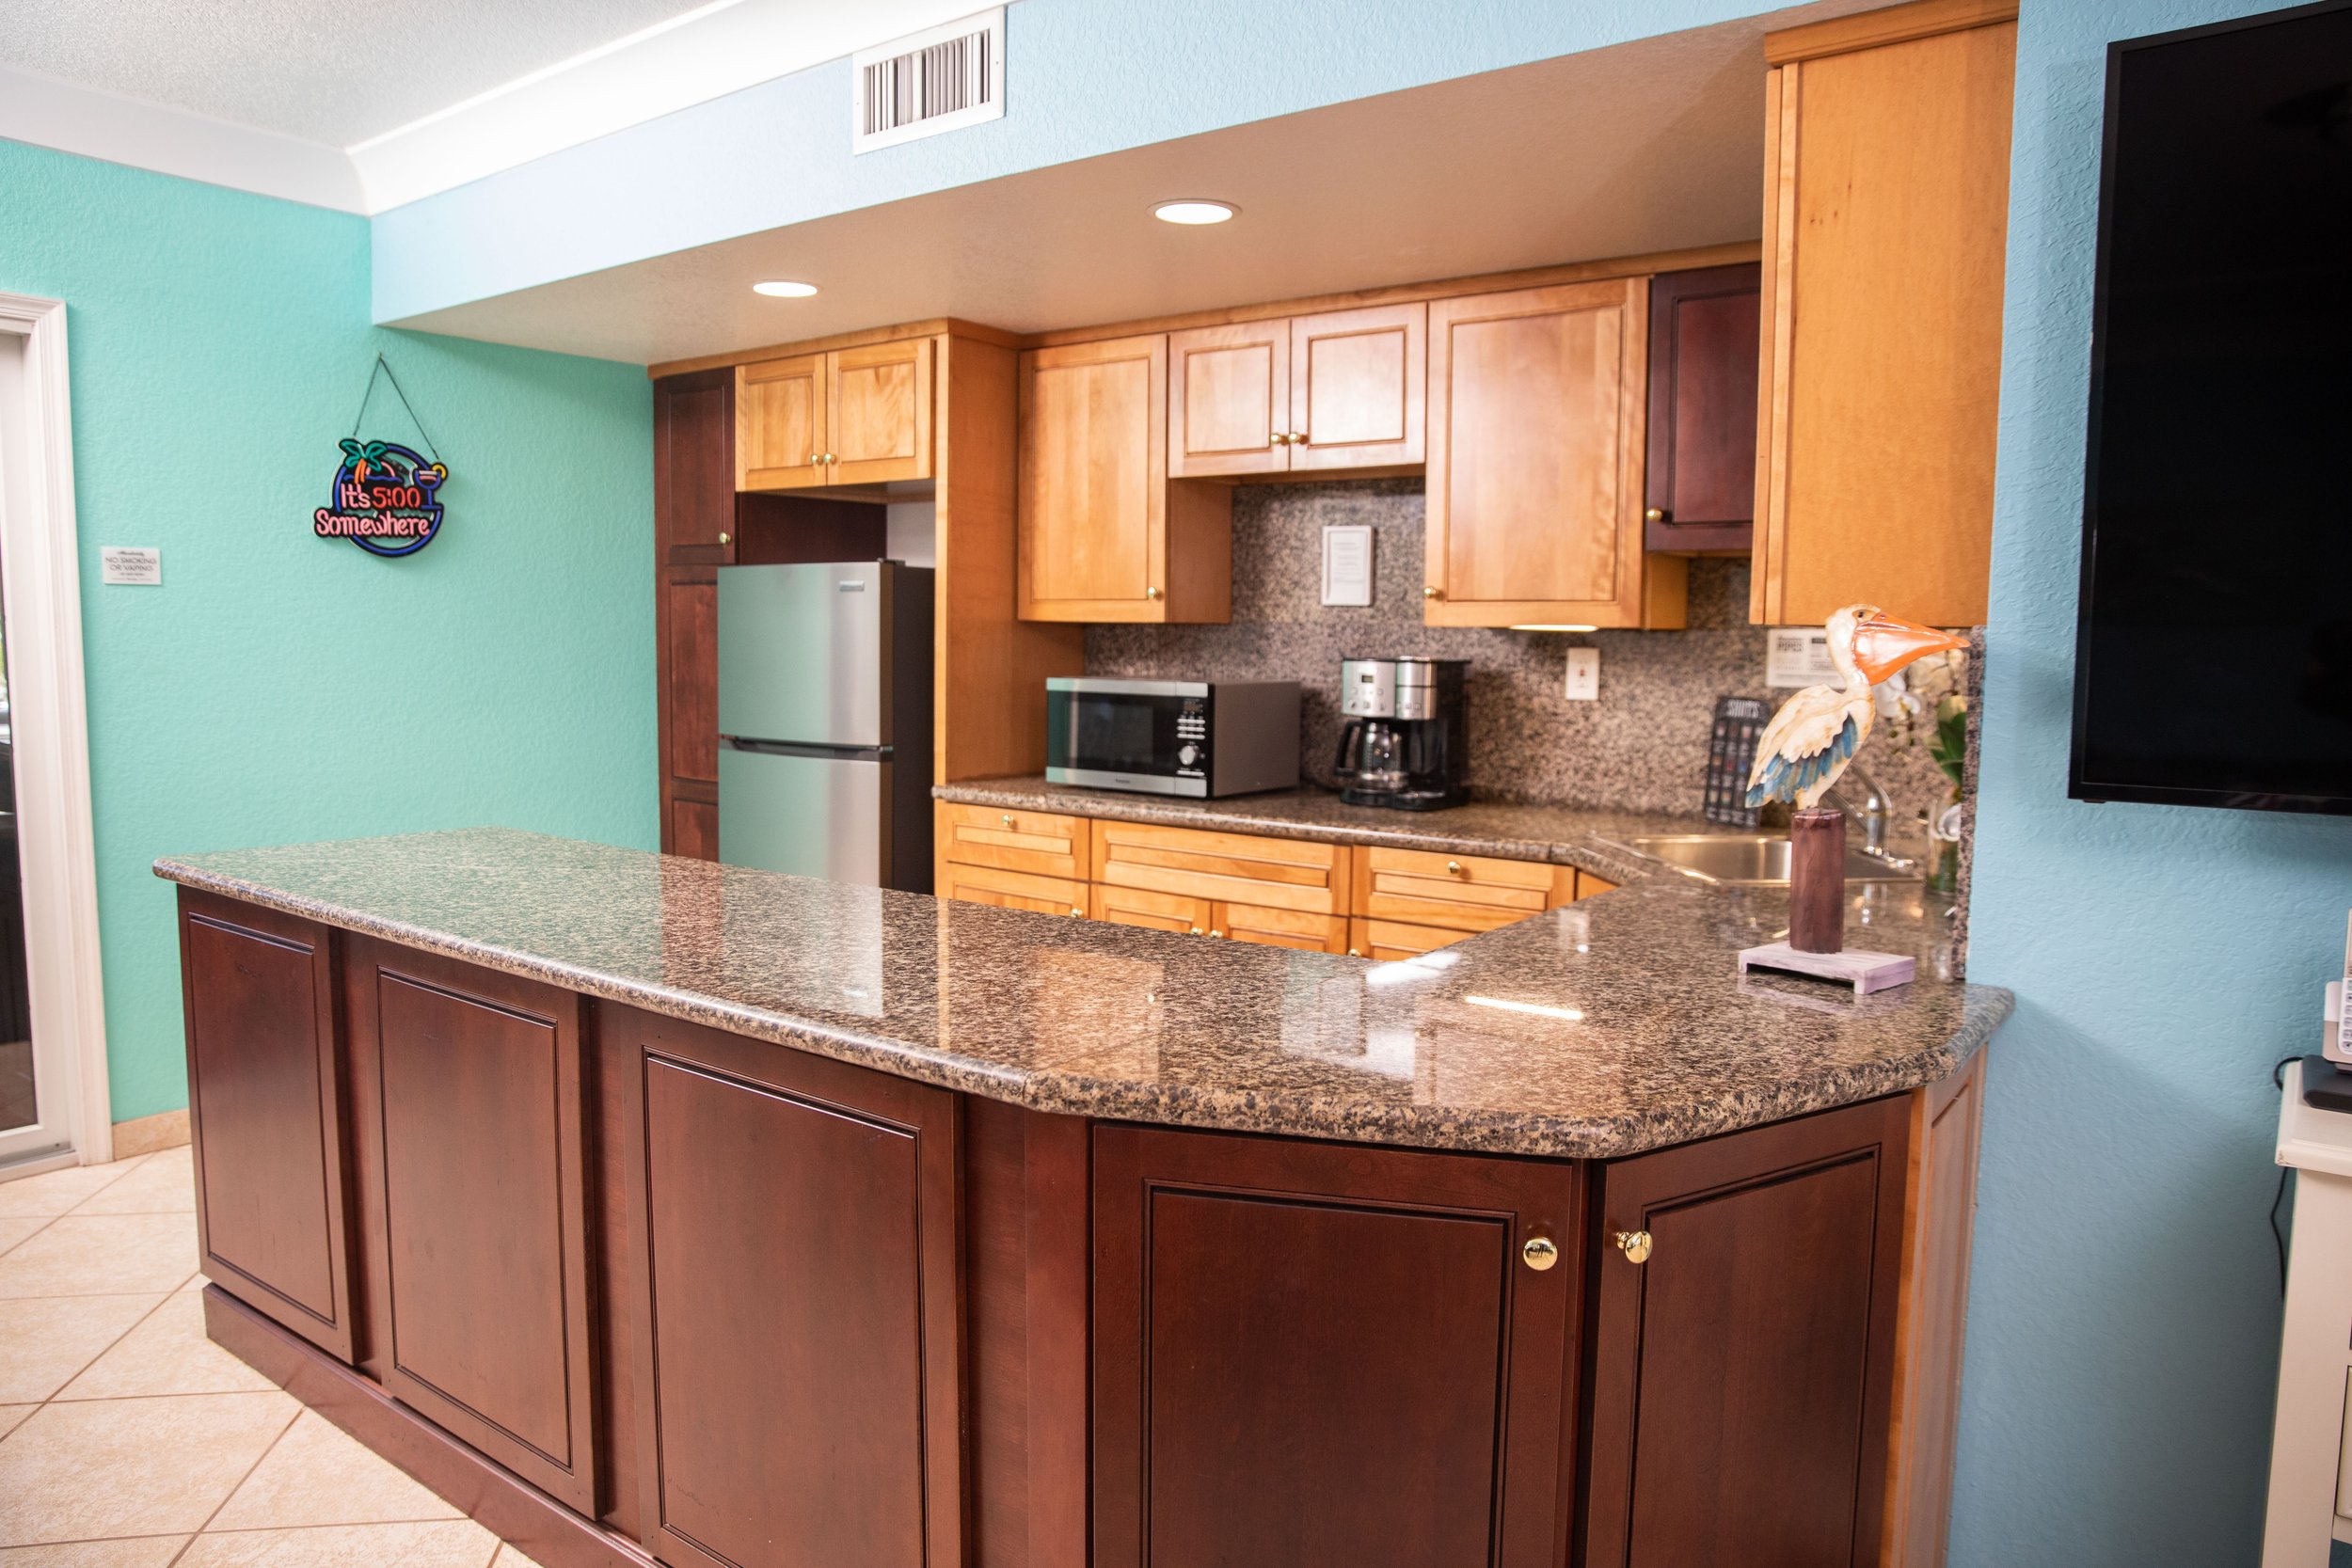
Flags can also be used in conjunction with reflectors, or in my case off-camera flashes, to achieve a more balanced and flattering light that highlights the scene’s key features. In this case, we’re trying to show off a nice open patio and seating area, so the table needs to look good.
For shoots like this, it’s critical to have a good assistant who can help hold the flags and adjust lighting on the scene, because ultimately what we are going after is a composite shot.

A composite is essentially multiple shots of the same scene that are then stitched together in post-processing. As my assistant moved the flag around the table, I was able to capture the scene multiple times, each shot blocking the light from a different area of the table to create a more well-exposed final image.
While I normally handhold for most images, these types of images have to be taken with a tripod to ensure the exact same height and angle. That way, they’ll stitch together seamlessly in Photoshop.
I also have to make sure I’m using the exact same aperture (or f stop) for each shot so that they all have the same depth of field, or amount of blur through the various layers of the image. If I were to shoot using, say, Shutter Priority, allowing the camera to choose the Aperture for me, the shift in focus would make the final composite look unnatural.


Using Lightroom and Photoshop, I started by importing the multiple exposures of the same scene. Using Merge to HDR, I created a high dynamic range image that combined the best parts of each exposure. It does a pretty good job, but then I go into Photoshop for further editing.
It automatically creates a new layer for each contributing image, so then I just used layer masks to reveal only the parts of the image that I want to keep. Because the table was comprised mainly of straight lines, you saw me whip out the polygonal lasso tool in order to get nice crisp straight lines there, and then with a softer brush obviously eliminating the sections of each photo in which the flag (and my assistant) were visible.
It's important to pay close attention to the edges of each mask and make sure the layers blend seamlessly with those beneath them. I usually make multiple adjustments to my brush size, opacity, and edge to create the best combination of blending effects.

I then combined everything into a merged layer, and used the patch tool, healing brush, clone stamp to remove any unwanted hotspots from the tile and blend areas of dark and light so the transition looked smoother. I also used a series of selections and the Curves adjustment to bring down the brightness of some areas of the ground.
Now at this point, you may be watching this wondering “why not just wait until a day when there’s more cloud cover?”, or “Why not come back later in the day when the sun isn’t as harsh?
Well yes, in a perfect world I’d have control of every variable and be able to plan that way, but real life isn’t perfect, and being flexible and able to work around any variable is something that often appeals me to my commercial clients. Remember some clients are on tight deadlines so waiting around isn’t an option. Sometimes it’s an accommodation that’s under renovation, and I might be working around contractors. But very often the property has remained online.

Image by Keith Lewis
I’m based in the Florida Keys where occupancy numbers are high year round and most lodging is at or near capacity. Given that we also have some of the highest ADR (Average Daily Rate) in the country to offset the incredibly limited inventory, having a room or space blocked off for an entire day is not always something they can do.
So composite work like this allows me to get shots of any area, at any time of day, working around guest check-ins and limiting the amount of time areas of the property must be off limits to visitors.
Back to this image, you’ll see I did a Sky Replacement to give me a nice even sky. Not that the one that was in there was necessarily terrible, but I felt like the hot spot of the sun was a bit distracting, so this kept the sky pretty much the same color it was before, but minus the hot white orb on the edge of the frame.

Once I was happy with the composite, it was back over to Lightroom for some final tweaks and enhancement, bringing out the best colors and textures and then exporting it to go to the client.


And that's it! No this might not be the most exhilarating image of all time, but in the world of hospitality photography, you can appreciate how having this technique in my back pocket allows me to be extremely versatile, but it does require a bit more planning, equipment, personnel, and technical skill to pull of the final shot.